News

Scheduled Events

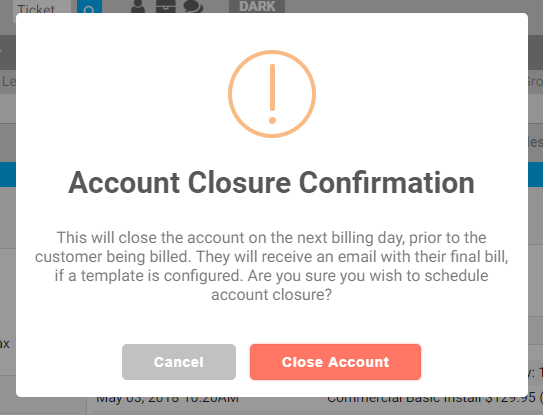
From the billing tab above the ‘Transactions’ window lives a handy tool called ‘Scheduled Events.’ The ‘Close Account on Next Billing Day’ button allows your customer to stay active for the remaining billing cycle they’ve already paid for but cancel the account prior to the next bill cycle and be sent a final bill.
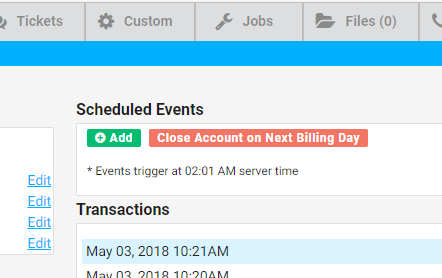
The green ‘+Add’ button brings up the ability to schedule a payment, add/remove/switch services or change the status of an account on a set date. Any of these actions can be set to occur only once, every month or annually. Scheduling a payment can be used to split up an install fee or other large amount over a few months. It’s also useful in tandem with setting a temporary grace period ensuring a customer’s payment gets automatically applied before the account is disconnected. Setting an account to change statuses can be handy for customers with vacation homes so they can preset when to turn on and off their service again or for advanced cancellations more than a billing cycle.
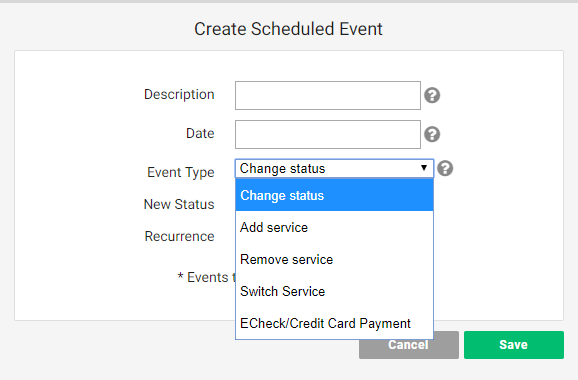
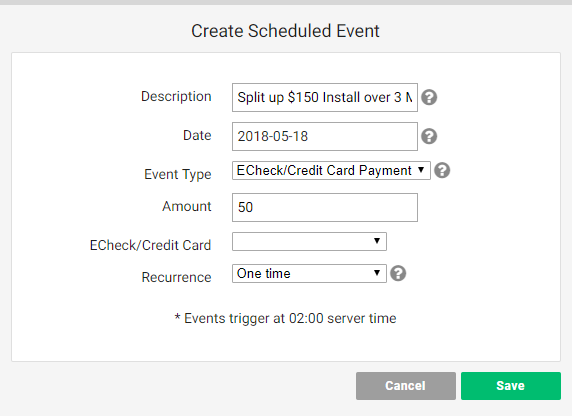
A better way to handle customers with second homes it to create a $5 per month ‘Service Hold’ service with a minuscule upload/download throttle allowing the equipment to stay live keeping its place on the access point and maintaining monitoring abilities.  The ‘Switch Services’ event type can then be used to turn effectively turn on and off the customers service by moving to and from this new limited service. Automatically switching services is also a great way to let a customer trial a higher level package, especially if you’re unsure about delivering the committed speed. Just add the upsold service now and then advise the customer to call back in two weeks to confirm they want to stay on the new service or it will automatically switch back to the original one. Then create a scheduled event to switch the service back. Just make sure to pay attention to the billing cycle and the proration check box to accomplish the desired billing.

By |2018-05-18T11:35:06-05:002018 May 18th|News|Comments Off on Scheduled Events

Stand By Scheduling

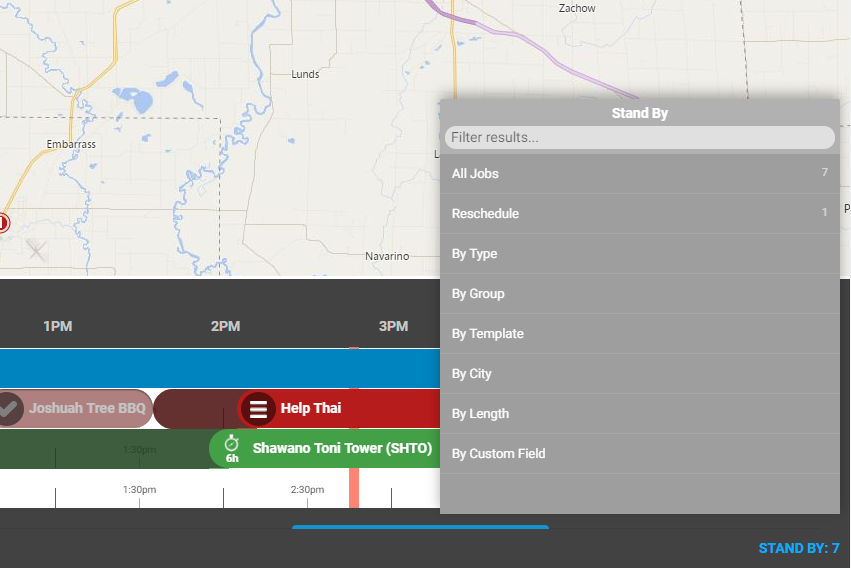
The stand by function is a handy way to maximize your field tech’s efficiency while maintaining a firm grasp on your non-critical or not scheduled jobs. Jobs can be scheduled directly to stand by from the customer overview by clicking on the “+Add” button next to “Install/Service Calls” then ticking the “Put into stand by” box. Failed jobs with “Request rescheduling?” checked will be put into the stand by list as well as any job that is created but not saved to a technician’s schedule.

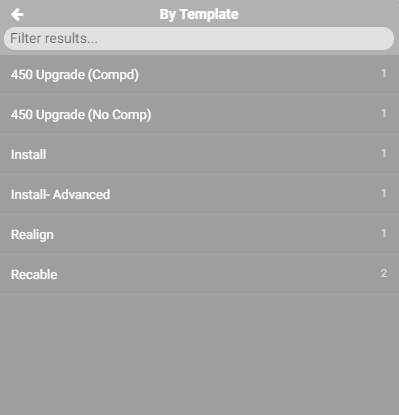
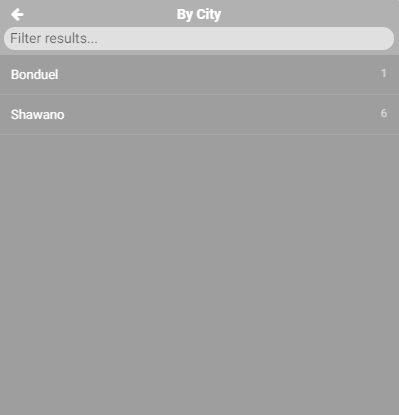
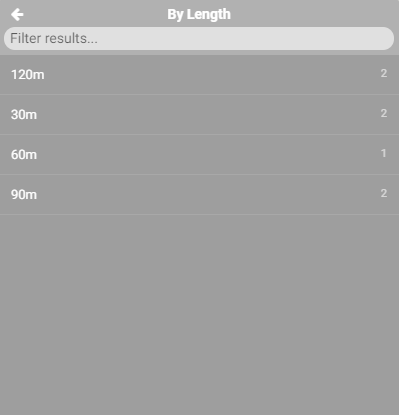
Once the stand by list is populated, your dispatcher can fill a technician’s day by plugging holes with jobs on their route with the proper duration. Or if a technician finishes their day early or there’s a cancellation, they can jump into the stand by list to see what jobs they can do nearby. Find it at the bottom right corner of the “Schedule Live View” and just click on the u-turn symbol to drop the job to the workbench to schedule. We’ve provided a number of different ways to view the standby list with filtering for each so it’s clean and easy to to find the jobs that fit your need at the time. You can see all the jobs at once with details, or break them out by type, template, city, length or even a custom field you come up with.

By |2018-04-27T21:14:46-05:002018 April 27th|News|1 Comment

Start Using Custom Customer Alerts

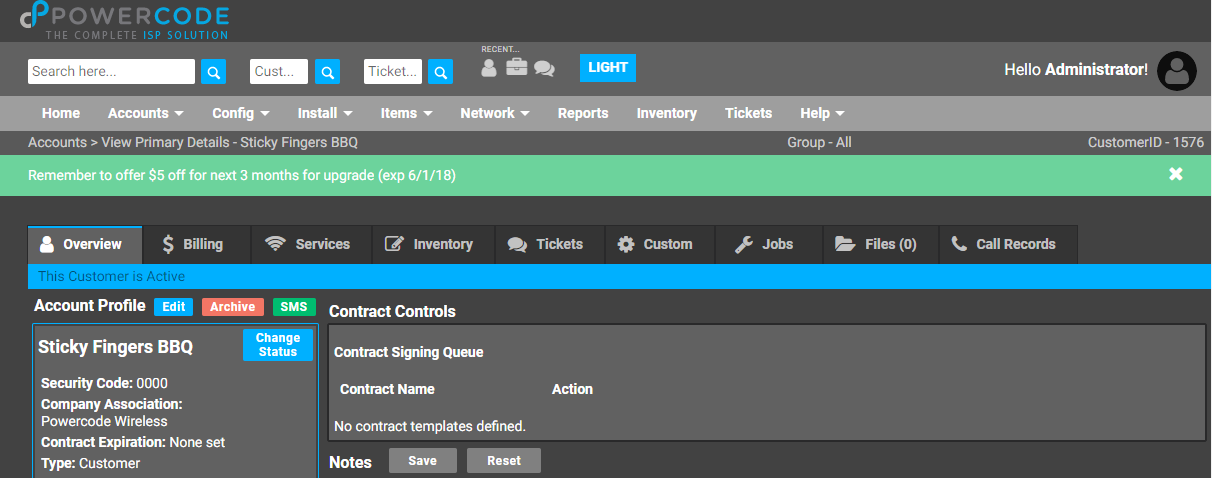
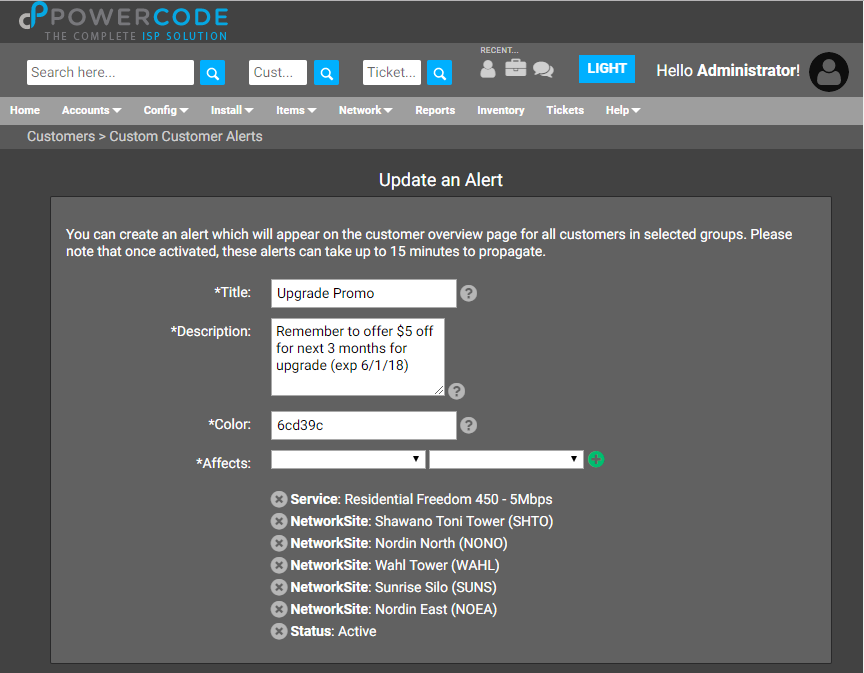
We’ve added a new way to better communicate with your team! Starting in Stable release 18.02.16 custom alerts can be displayed in the color of your choosing at the top of a customers page based on any number of criteria as seen here.

There are countless reasons and ways to use these alerts. In our example above, we’re running a promotion offering five dollars off for the next three months for everyone who is on the Residential Freedom 450 plan who upgrades their service. We want to remind our first line employees of this so they can try to up-sell every eligible customer. Additionally, not all of our pop sites can support the higher speed services so we only want this to display for the customers who can actually receive this service. Luckily the custom alerts criteria supports this as shown below.

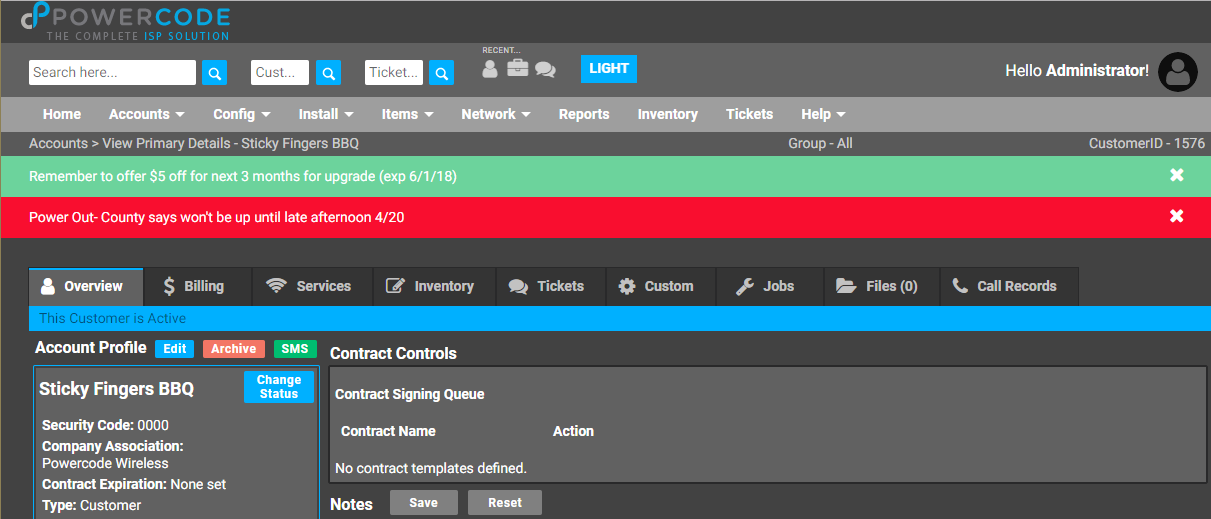
Additionally, the custom alerts can be stacked if a customer meets the active alert’s criteria. The customer below is eligible for the promotion but is also down at the moment and won’t have power back to their network site until tomorrow. So anyone who opens that account can see right away not to spend any time troubleshooting as it’s a known issue.

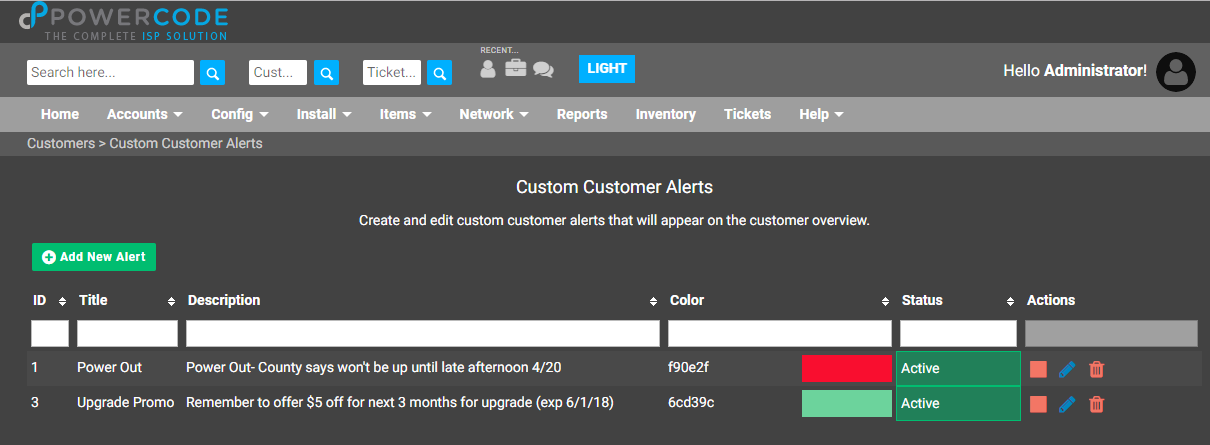
To take advantage of the Custom Customer Alerts from the “Accounts” tab select “Custom Customer Alerts” to get to the page below. Click on “Add New” and create your alert. Please reach out to our support department with any questions!

By |2018-04-19T16:25:34-05:002018 April 19th|News|Comments Off on Start Using Custom Customer Alerts

NEW Customer Portal is here!

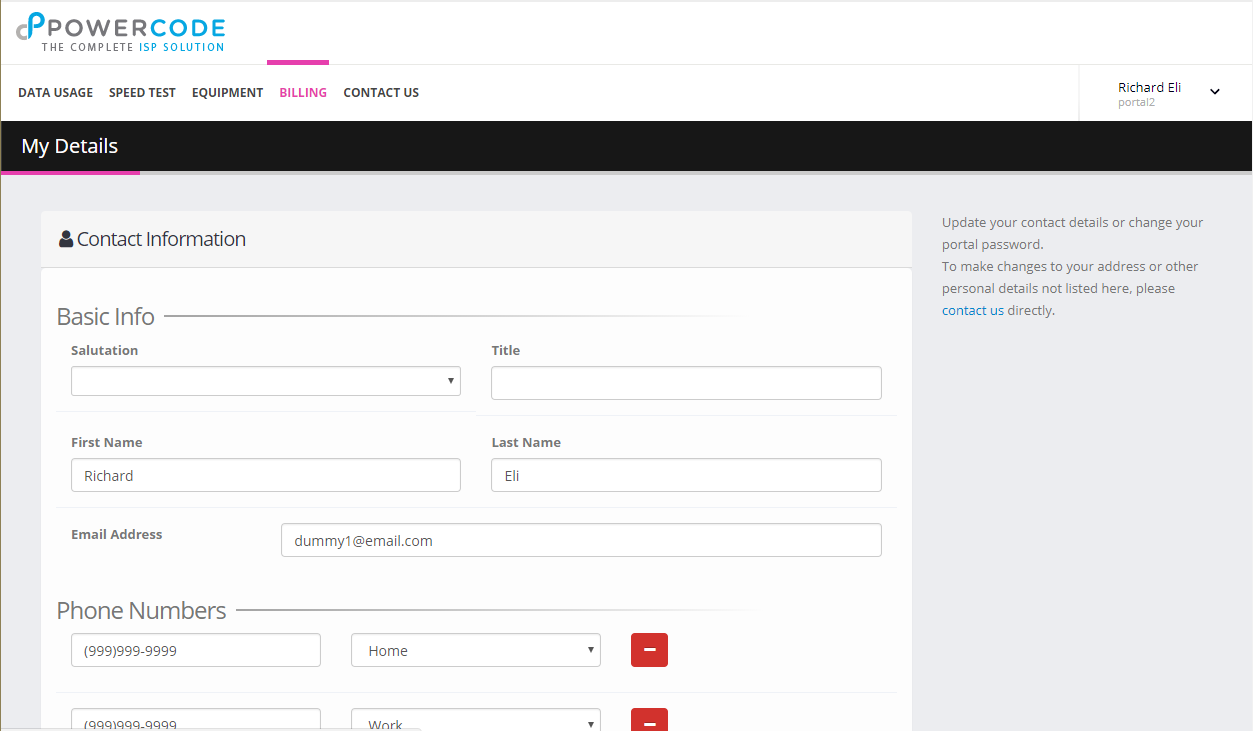
Our completely rebuilt customer portal is here! With it’s sleek new look, your choice of theme color and fully custom CSS field your customers are sure to be impressed. They can also update most of their account info directly from the portal and even upload attachments when they create or reply to a ticket. Now, all of this can be done from their phones or tablets as the entire portal is mobile friendly from bill paying to usage graphs. On the “Customer Portal Settings” page you have more control than ever to make sure you’re only allowing the functions and behaviors that you want.

New Customer Portal with pink theme color.

In addition to our desire to provide these features to your customers enhancing their experience with their ISP, this rebuild also opens the doors for exciting new possibilities. This is just the beginning of what we imagine the portal to be in the near future. If you have any ideas for functions you would like to see in the portal, please submit them to us via the feedback forum through the “Help” menu from your Powercode software.

Some more extreme custom elements using the Custom CSS box.
A more standard application of our Custom CSS ability.

To use the new portal, you’ll need to first upgrade to Stable release 18.03.21. Follow the video below or from “Config” tab, under “System Configuration” select “System” and change the “Powercode Release Type” to “Beta” and “Powercode Customer Portal” to “New”. Then from the main page widget upgrade to Beta 18.04.04 and the new Customer Portal is yours!

By |2018-04-12T14:27:18-05:002018 April 11th|News|1 Comment

Easter Friday Phone Support

Powercode will be closing early on Friday, March 30, 2018 to host a company event for the afternoon.  We will close at 12PM (Noon) CST for the day.  If you have a business impacting outage, please call in and proceed to engage our on-call services.  Please leave a detailed message and we’ll get back to you as soon as possible.

By |2018-03-30T11:37:28-05:002018 March 30th|News|Comments Off on Easter Friday Phone Support

Customer Billing Notes

Customer Billing Notes on the Overview is a great place to leave information. It’s easily visible from the moment you open a customer’s account.

By |2017-12-28T14:32:14-06:002017 December 28th|News|Comments Off on Customer Billing Notes
Go to Top