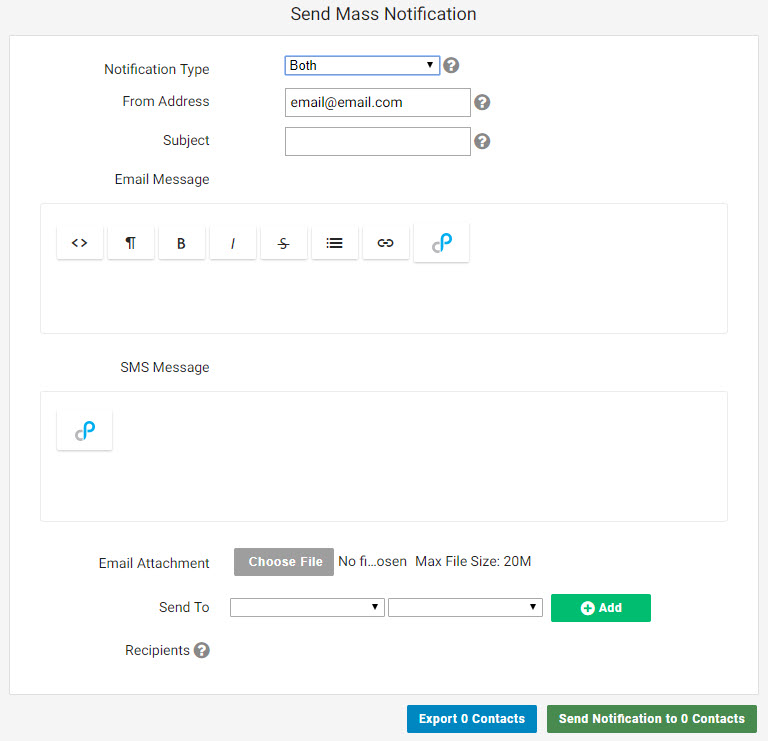
Things happen in your network and sometimes waiting for upset callers to call in doesn’t provide the best customer service or maybe you’re looking to up-sell some customers into a higher speed service. These are two of the many great uses for the Mass Notification feature in Powercode. From the ‘Accounts’ tab select ‘Send Mass Notification’. Also note that if you have Twillio SMS integration enabled then there’s the option for sending both text and email with different messages for the same notification.


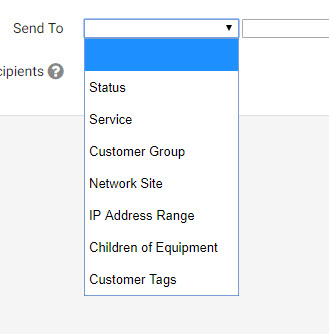
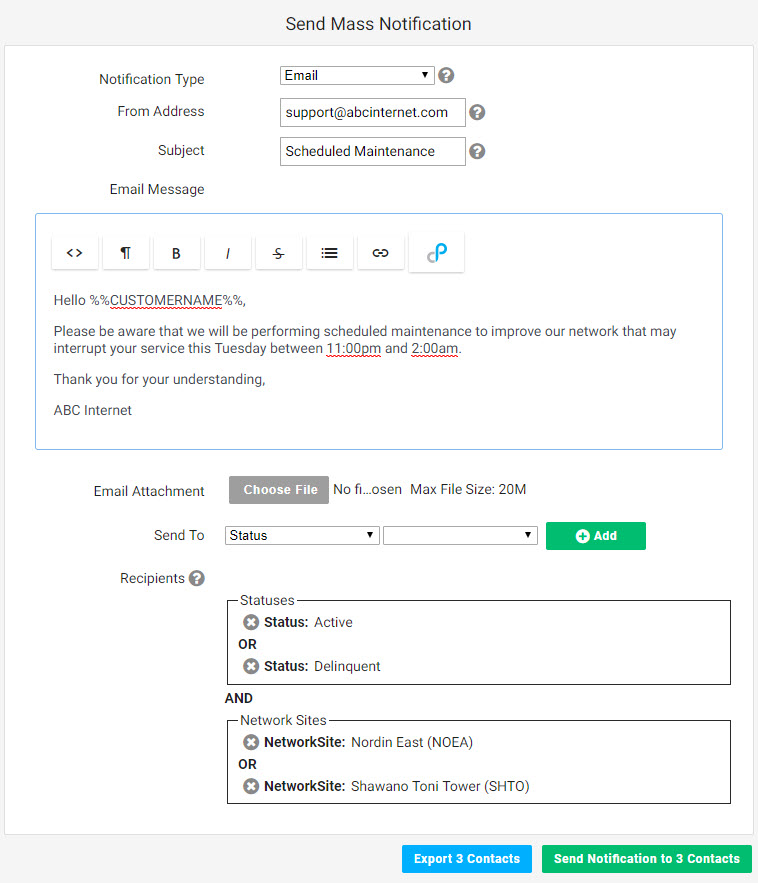
After entering in the email address the notification is coming from and providing a subject, the body of the message can be created. Notice that this feature has many of the same elements as ‘System Emails‘ including variables tied to customer’s individual data and html formatting ability. From there choose which of the following seven organizational options apply to your message: Status, Service, Customer Group, Network Site, IP Address Range, Children of Equipment, Customer Tags. Multiple sub options can be selected from the same option behaving as an ‘And’ operator to expand the reach of a message. Multiple options can also be selected also functioning as an ‘And’ operator to specify the exact customer criteria to be reached. Be aware that a customer will be included if it meets any one criteria in each option group.


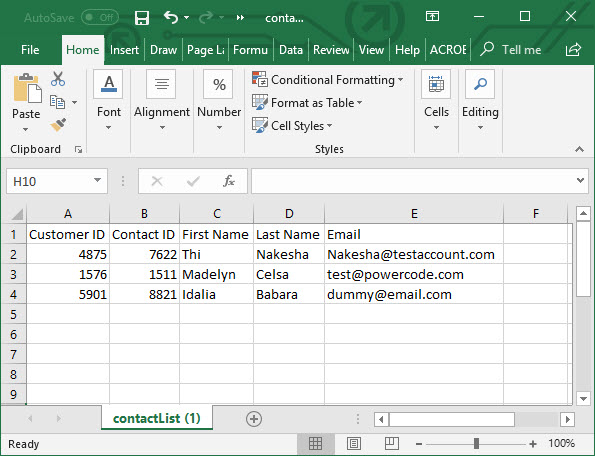
In the example above, an account that was delinquent and served off of the Nordin East Network Site would get this notification as would someone who was active connected to Shawano Toni Tower, but an account with the status of lead off of Nordin East would not. As sub options are being added the two buttons at the bottom update in real time to show how many contacts meet these criteria. Click on the ‘Export X Contacts’ to see exactly who will receive the notification if sent. Make sure to always pay attention to the status as you will rarely want to message accounts that are no longer customers.
