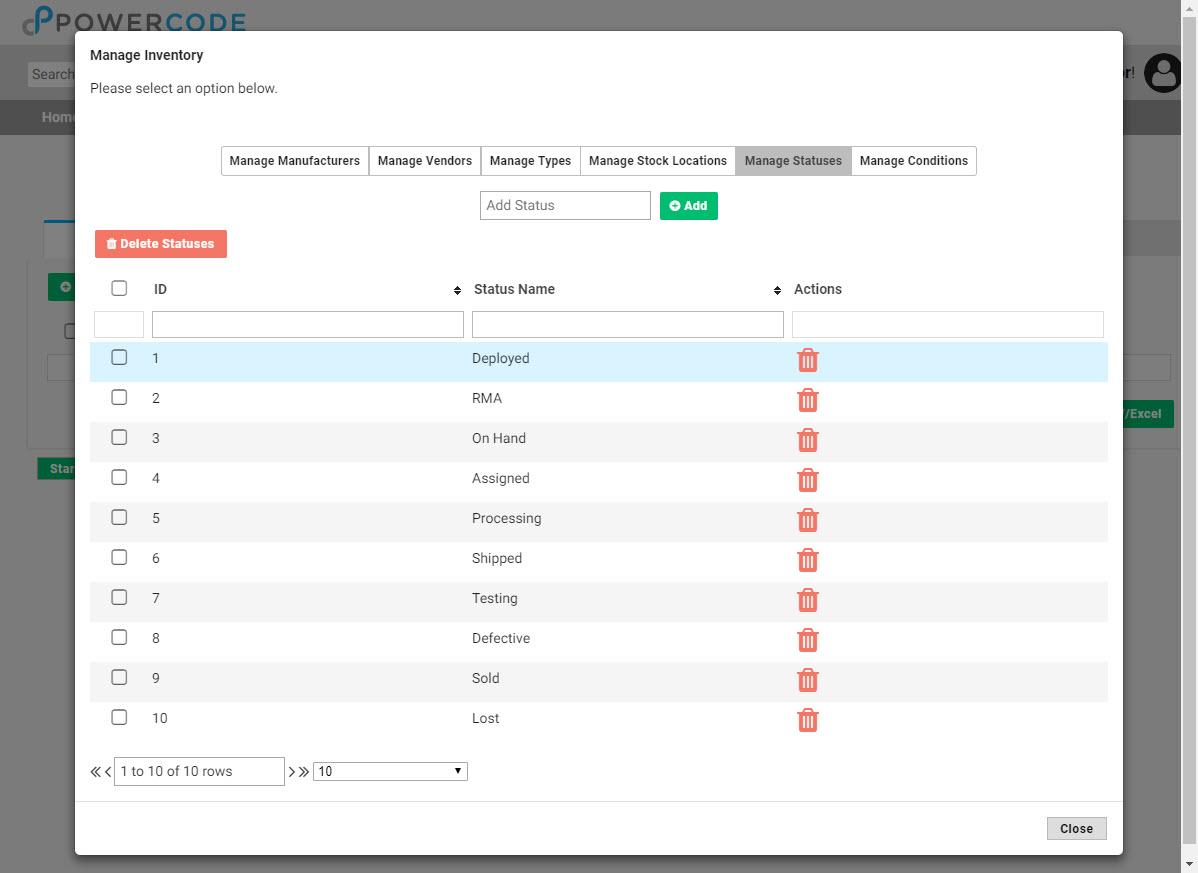
Managing inventory properly can ensure your tech’s have the equipment they need to complete their jobs, track trends and mitigate theft. Powercode makes it easy to know where every item is once it’s delivered. To begin using the inventory feature you will need to establish all of your products and consumables, click on the ‘Inventory’ tab at the top of any screen then click the ‘Manage Inventory’ button. The manufacturer and type for each item will need to be built and any vendors should be added too. Stock locations indicate where the items are stored and checked out from so most will only have one unless you maintain a remote stock facility. The ‘Statuses’ and ‘Conditions’ tabs come populated with all the scenarios needed, but the ability to add custom ones for any outliers is still available.


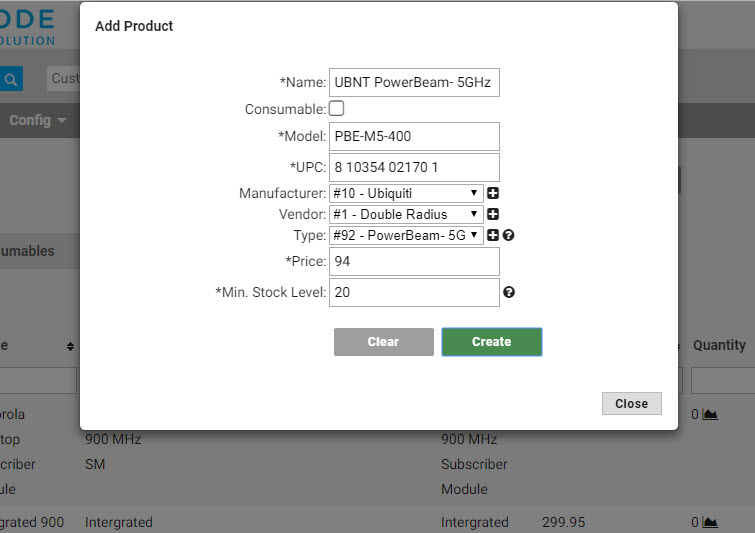
Next make sure to click on the ‘Admin Settings’ button and enter the email address of your purchasing agent or whoever is responsible for keeping equipment in stock. Then click the green ‘Create Product’ button on left hand side under the ‘Products’ tab and add a product for each individual type of equipment that will be tracked. This default information can also be overwritten when entering the actual items into stock. Pay special attention as to whether it is an item with a trackable serial number and MAC or if it’s a consumable and check the box if so. When the count of an item/consumable in a stock location drops below the number set in the ‘Min. Stock Level’ box, a warning email is sent the address established in the aforementioned ‘Admin Settings’ box.


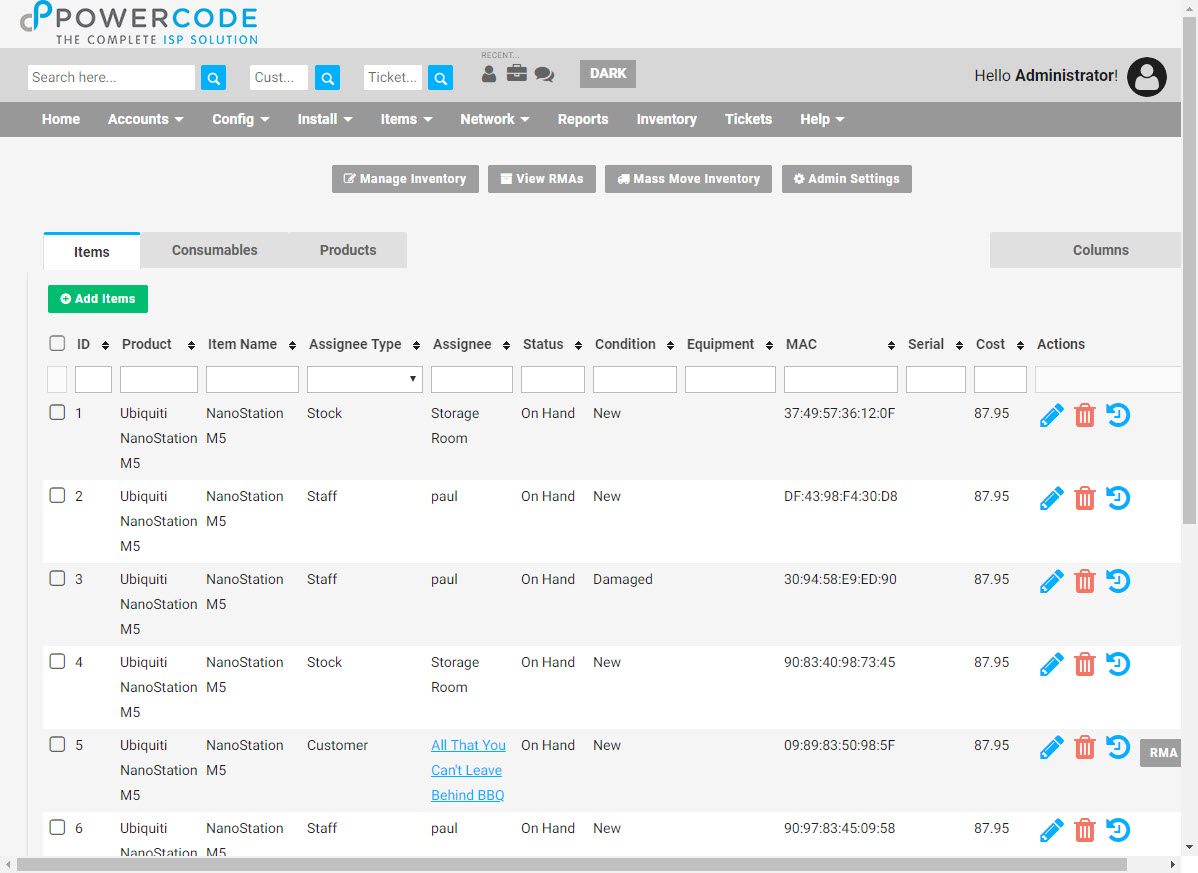
Now the actual items can be added to stock from the green ‘Add Items’ button under the ‘Items’ tab. If multiple of the same item are being added at once, click on the ‘Bulk entry mode’ link with the lock icon. Then click on each lock next to the line that will remain the same for each entered item. Typically that will be for all except the MAC, DUID and/or Serial. A USB barcode scanner can be purchased making input significantly quicker.
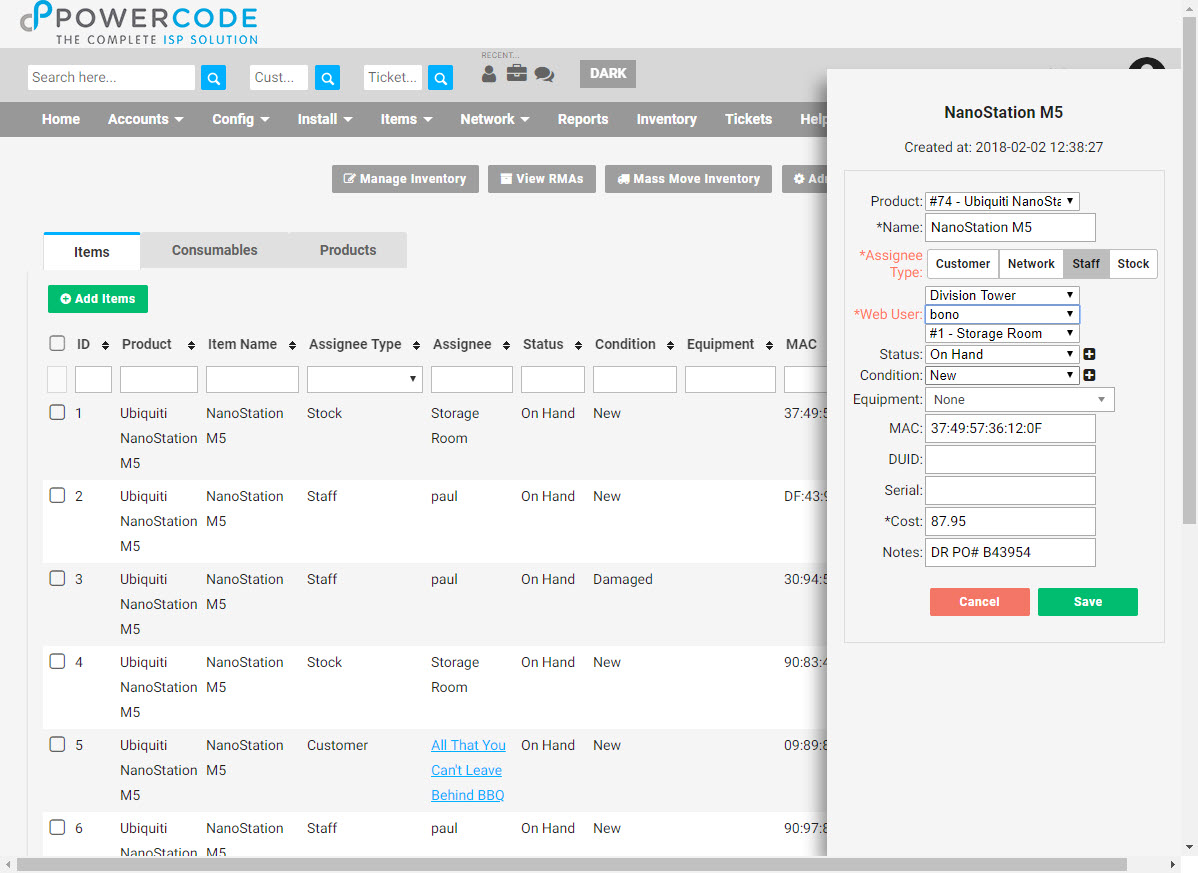
When it’s time for a tech to remove an item from the stock room, they simply hit the edit pencil icon next to the item, choose the ‘Staff’ Assignee Type and select their name from the Web User drop down. When it’s added to a customer account nothing further is necessary as it will automatically remove the item from it’s location and add it under the ‘Equipment’ tab of the customer.
To learn more or see it in action watch this video:
